Table of Contents
Purpose
The purpose of this document is to explain the various steps required in configuring a remote access VPN on a Vyatta appliance.
Vyatta Configuration
The Vyatta configuration steps are pretty straight forward. You enable the outside interface with IPSEC, the IP pool, along with the secret passphrase and usernames and passwords, then your good to go.
set vpn ipsec ipsec-interfaces interface <OUTSIDE PUBLIC INT> set vpn ipsec nat-traversal enable set vpn ipsec nat-networks allowed-network 0.0.0.0/0 set vpn l2tp remote-access outside-address <OUTSIDE PUBLIC IP> set vpn l2tp remote-access client-ip-pool start <x.x.x.x> set vpn l2tp remote-access client-ip-pool stop <x.x.x.x> set vpn l2tp remote-access ipsec-settings authentication mode pre-shared-secret set vpn l2tp remote-access ipsec-settings authentication pre-shared-secret <passphrase> set vpn l2tp remote-access authentication mode local set vpn l2tp remote-access authentication local-users username test password abc123
Client Configuration
In terms of the configuration steps required on the client side. The steps required to configure a Windows based machine (in this case Windows 7) are shown below.
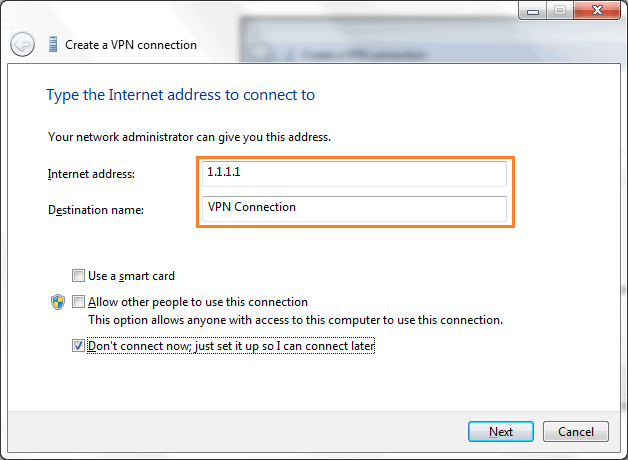
1. First initiate the wizard.
2. Next, add the public IP f your Vyatta device.
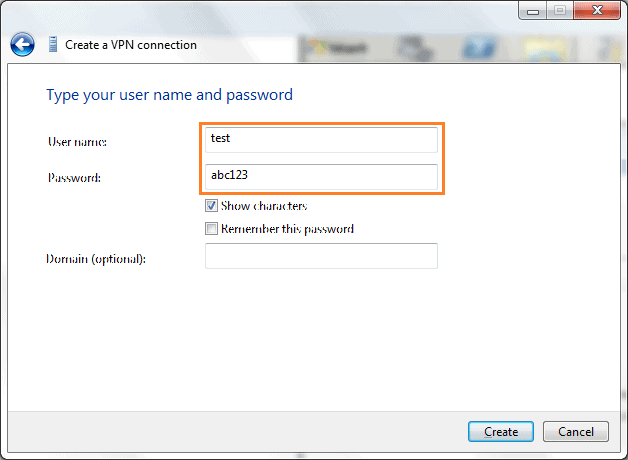
3. Next, add your username and password.
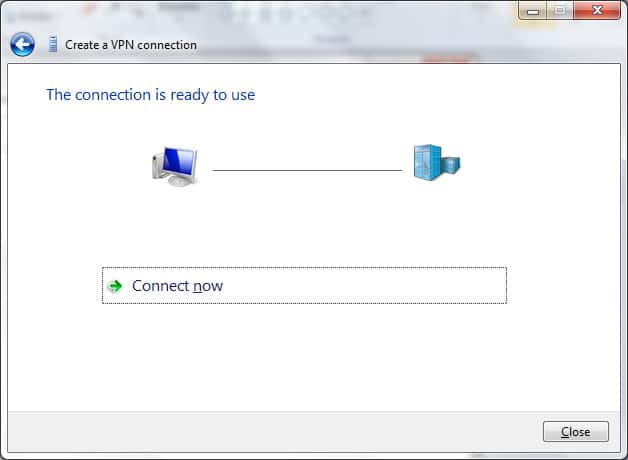
4. Click ‘Connection Now’.
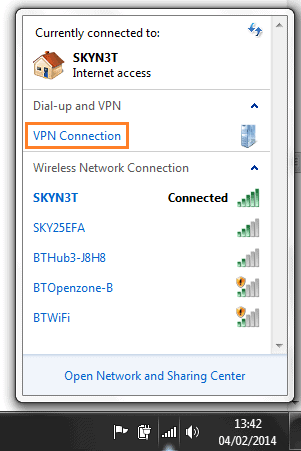
5. Then, go into the available/connected networks and client the recently added ”VPN Connections’.
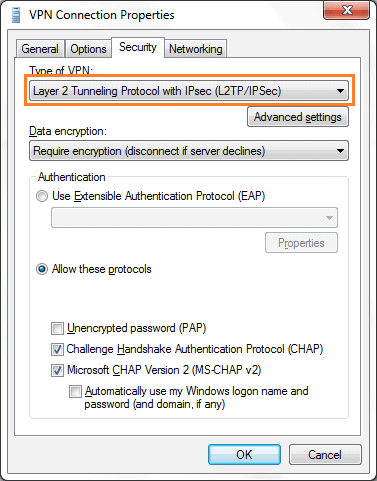
6. Next, change the ‘Type of VPN’ to what is shown below. Then click ‘Advanced Settings’, and add your secret passphrase.
Split Tunneling
By default split tunnelling isn’t enabled. Meaning that all traffic from the client will be sent down the VPN tunnel. To enable split tunneling follow the following steps.
- Go to Control Panel / Network Connections.
- Right-click on your Vyatta VPN connection, then click Properties.
- Click Advanced. Uncheck the “Use default gateway on remove network” checkbox.
- Then click OK three times.
Troubleshooting
The main troubleshooting command is shown below. This allows to see the user that is logged in along with the sent and received packets.
vyatta@lab:~$ show vpn remote-access
Active remote access VPN sessions:

User            Proto Iface     Tunnel IP       TX byte RX byte  Time
----            ----- -----     ---------       ------- -------  ----
felix001        L2TP  l2tp0     10.192.1.0           74   39.4K  01h08m35s

- NETCONF & YANG: Automate Network Configs via Python - April 2, 2026
- Palo Alto – How to Configure Your Next-Generation Firewall - April 2, 2026
- How to Harden Linux SSH: Keys, Fail2ban & Ciphers - March 1, 2026
Want to become a networking expert ?
Here is our hand-picked selection of the best courses you can find online:
Cisco CCNA Certification Gold Bootcamp
Complete Cyber Security Course – Network Security
Internet Security Deep Dive course
Python Pro Bootcamp
and our recommended certification practice exams:
Delta Practice Tests